Using the Workspace
My workspace upon login
When you log into NWM, you enter your workspace. Here you can keep a list of documents being worked on, search for existing documents and create new documents. You can also view the revision history of documents in the Workspace.
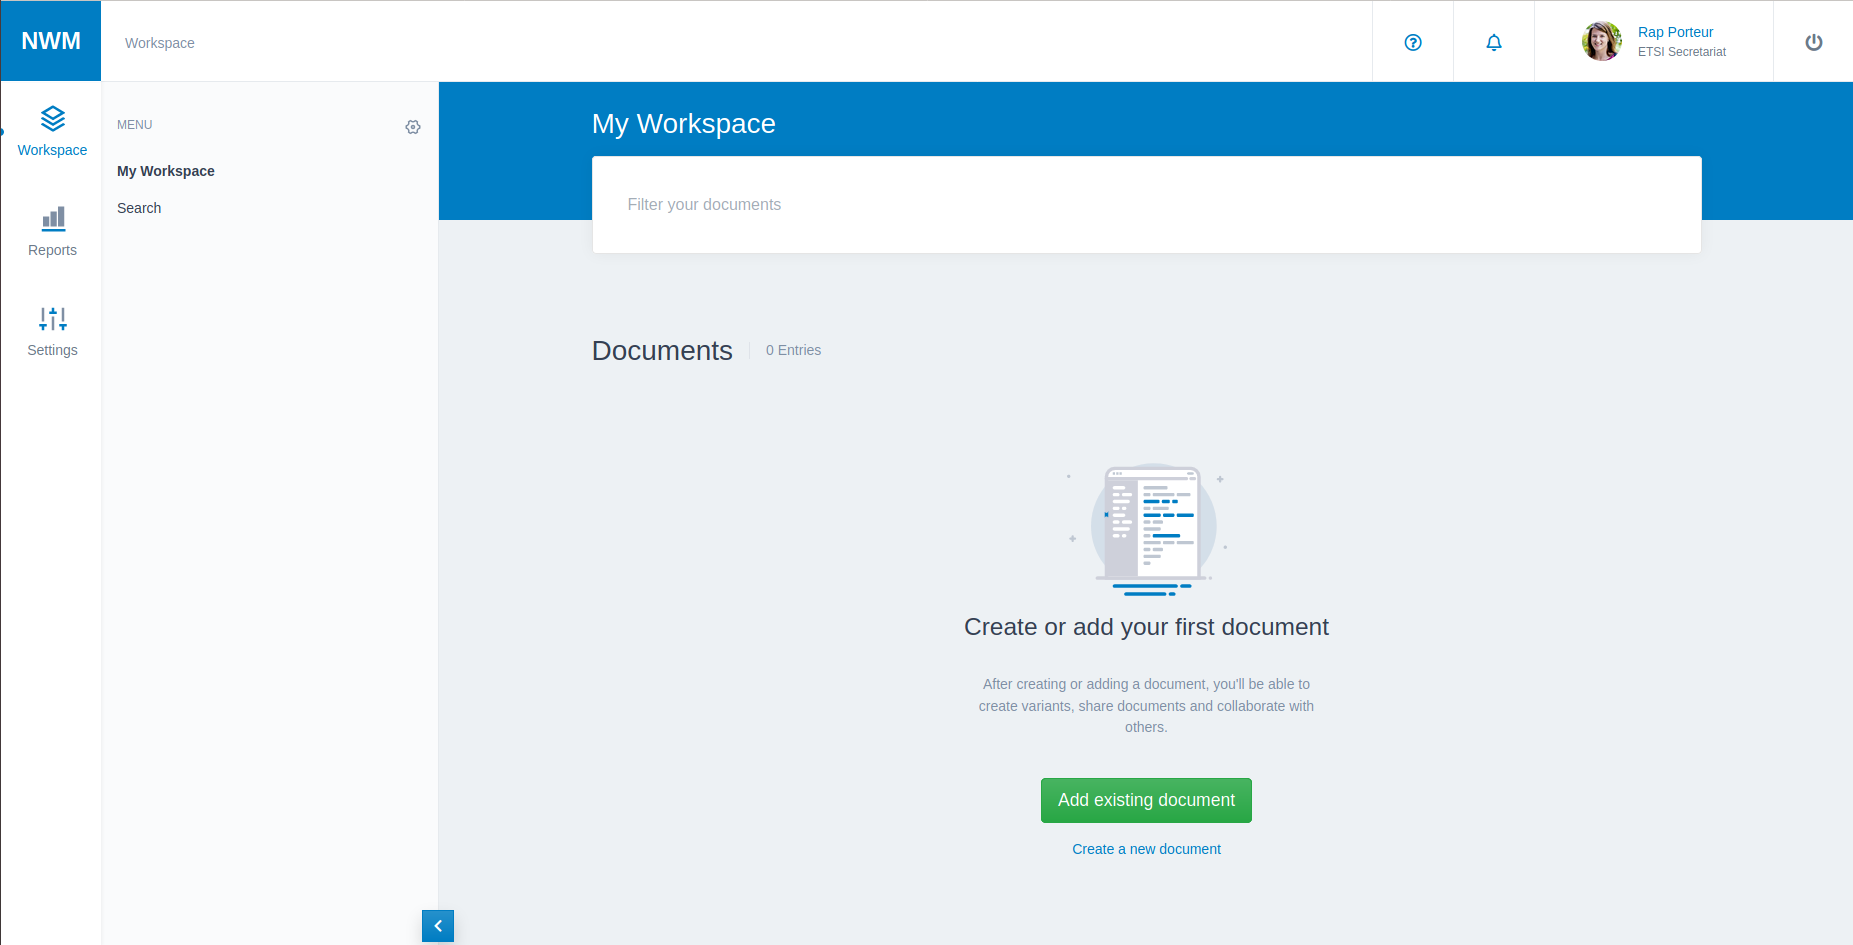
When you first log into NWM, your workspace is empty, as shown below.
Tip
When using multiple tabs with NWM open in each tab, when you log out of NWM from one tab, you log out from all tabs. However you are warned of unsaved changes in other open tabs.
My workspace with documents
Create or add a document
In the workspace you can Create a new document or Add existing document allowing you to search for documents.
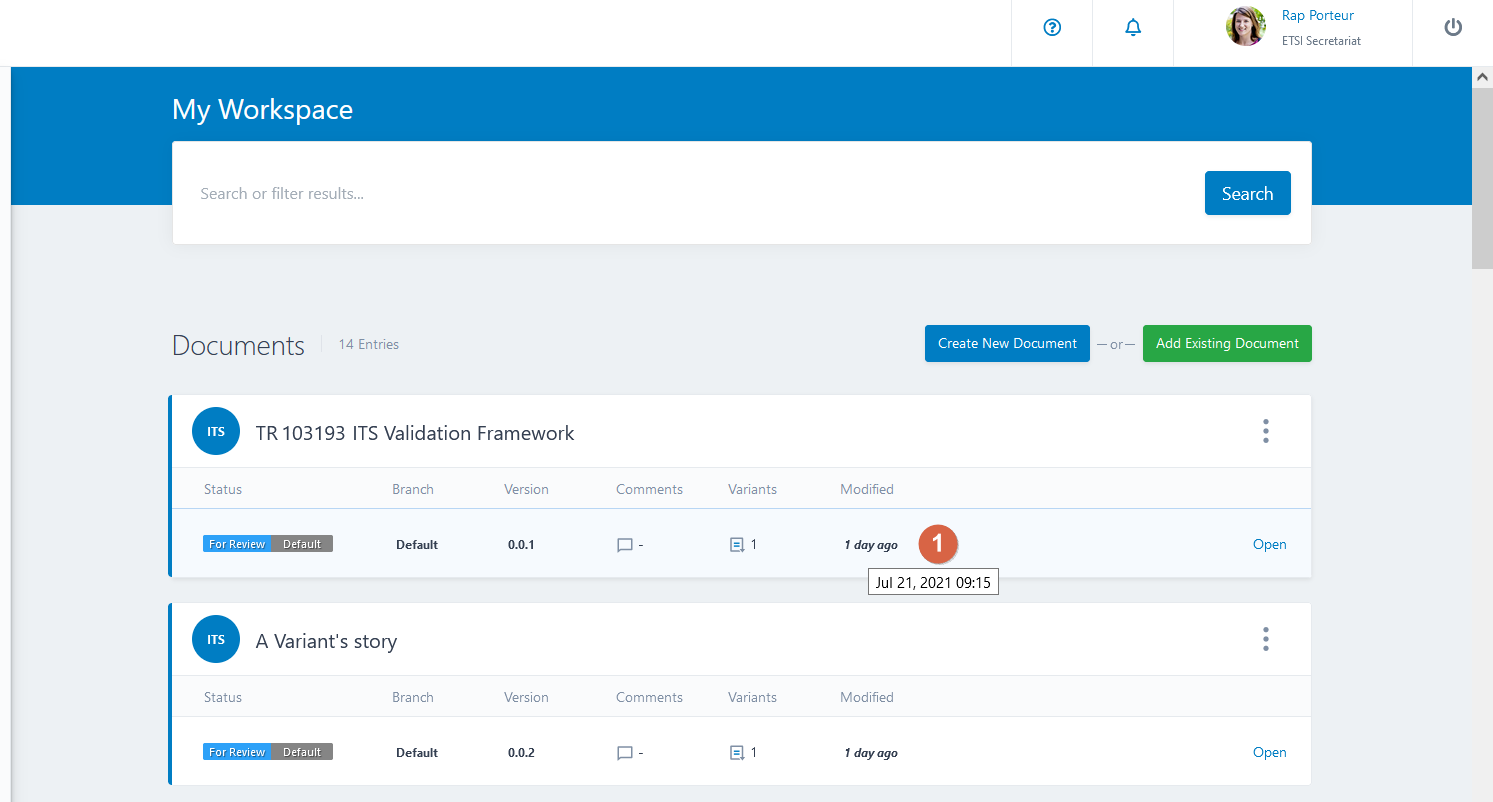
Once you have created (see Create a new document) or added a document (see Add an existing document to your workspace), then your workspace lists the added document, as shown below.
The last modified timestamp is useful to see in one glance how recent changes are.
On mouse-over the full date of the change is shown, (see  ).
).
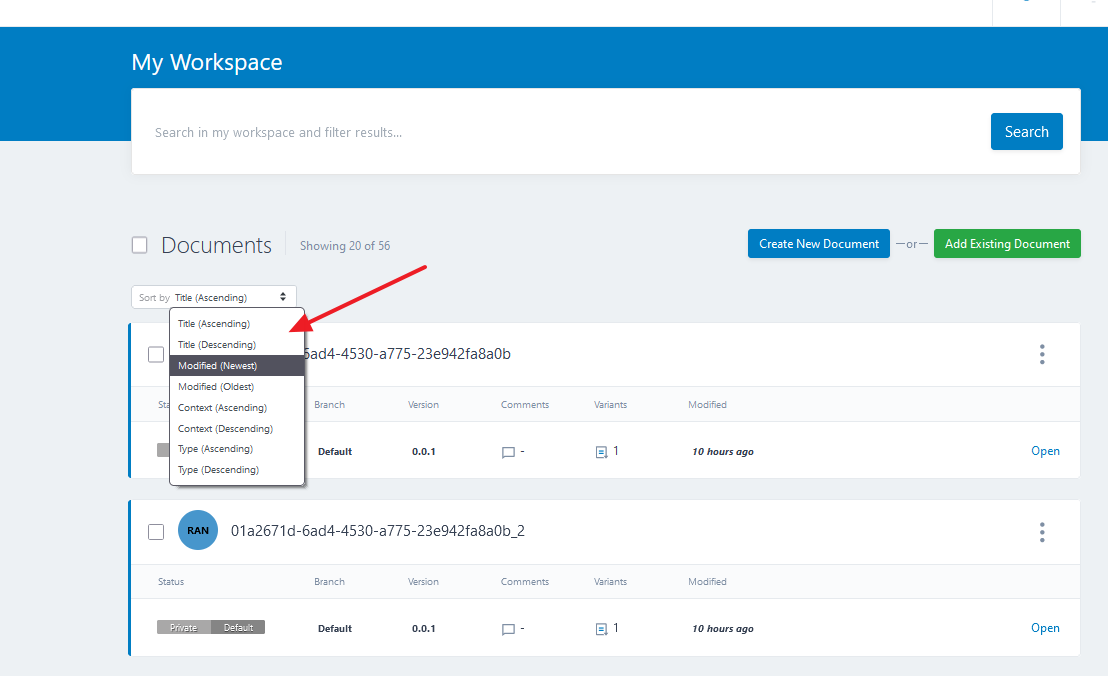
Sort documents
You can sort the documents in your workspace. Choose from the available order criteria.
Create a new document
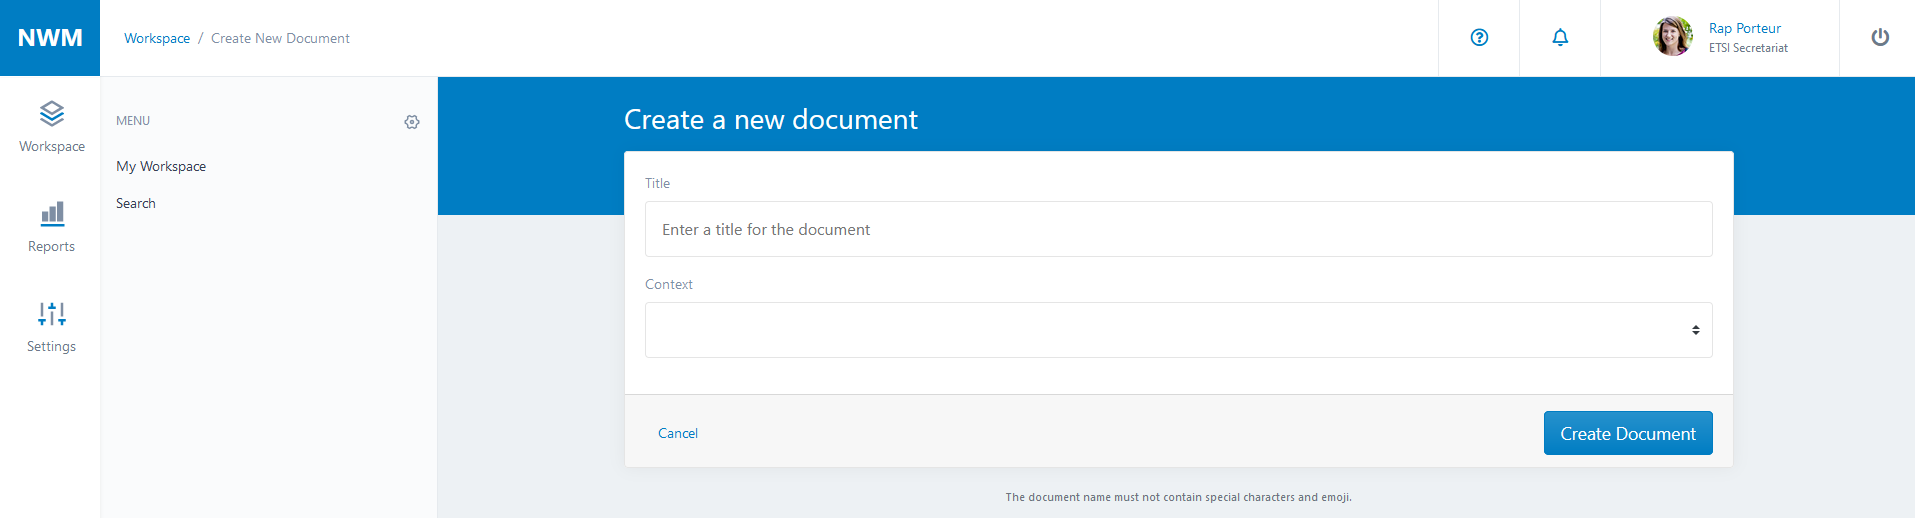
To create a new document, click on Create New Document and enter the name of the document.
The Context field can be left unchanged.
Click on Create document and the document opens and you may start editing.
Click on Cancel to abort the action.
Add an existing document to your workspace
Before you can add a document to your workspace, you need to find a document that exists in the global document repository.
Follow these steps to add a document to your workspace;
Search for an existing document:
If your workspace is empty, click on Add existing document
Or click on Search in the left menu (see Using the Search Bar).
Add a document from the search results to your workspace with the Add to workspace button: (In the list of search results, documents already in the Workspace are greyed out.)

This is useful if you wish to regularly return to the document.
Also, you will receive notifications on documents which are in your workspace (see Receiving Notifications).
Open a document
Documents in the Workspace or in the list of search results are displayed with all publicly available versions listed.
Expand or collapse a document entry using the right-most arrow: ![]() .
.
Open a document using the Open link or by clicking anywhere on the row of a specific document version in the list of documents. A document can be opened directly from the list of search results, no need to add it to your workspace first.
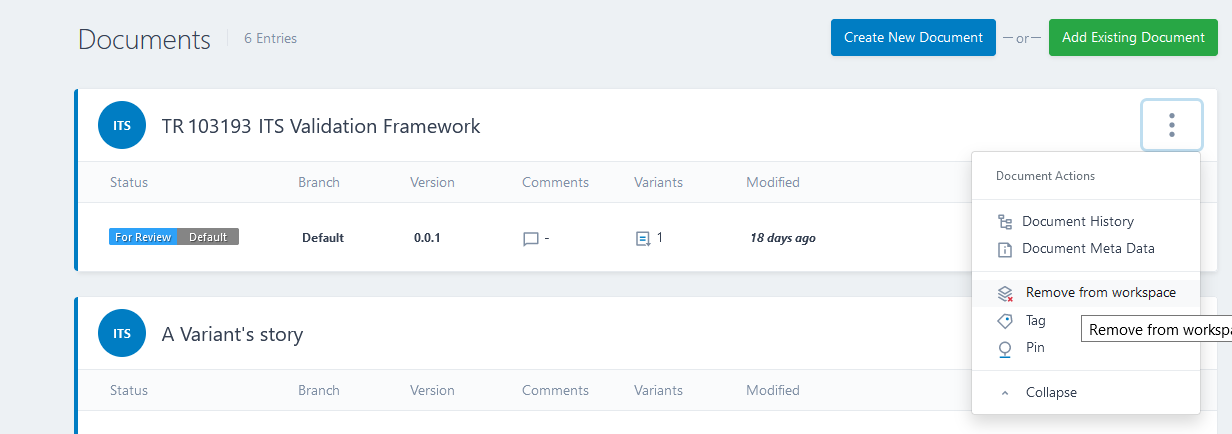
Remove a document from your workspace
Remove a document from the Workspace by clicking on the ellipse and then on the Remove from workspace button.
Tip
You can remove a group of documents from your workspace via the Bulk Action button, which appears when you select one or more documents in your Workspace.
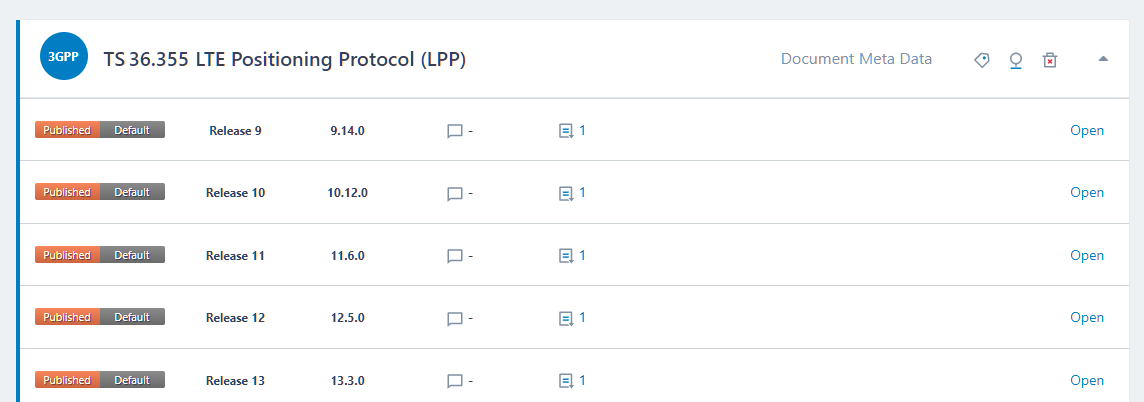
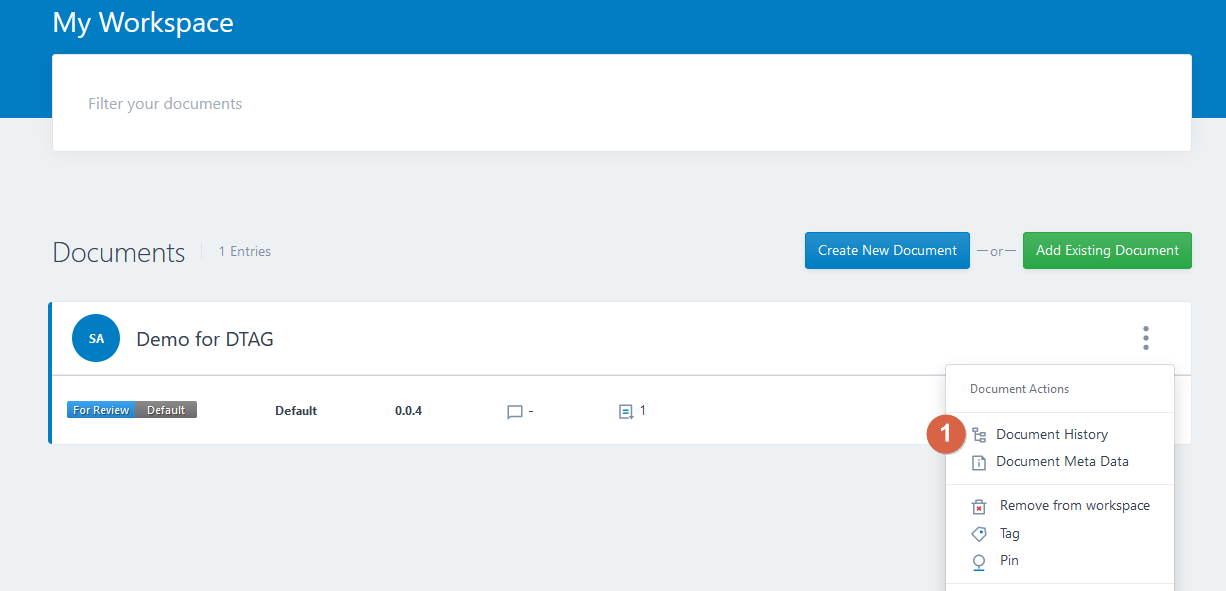
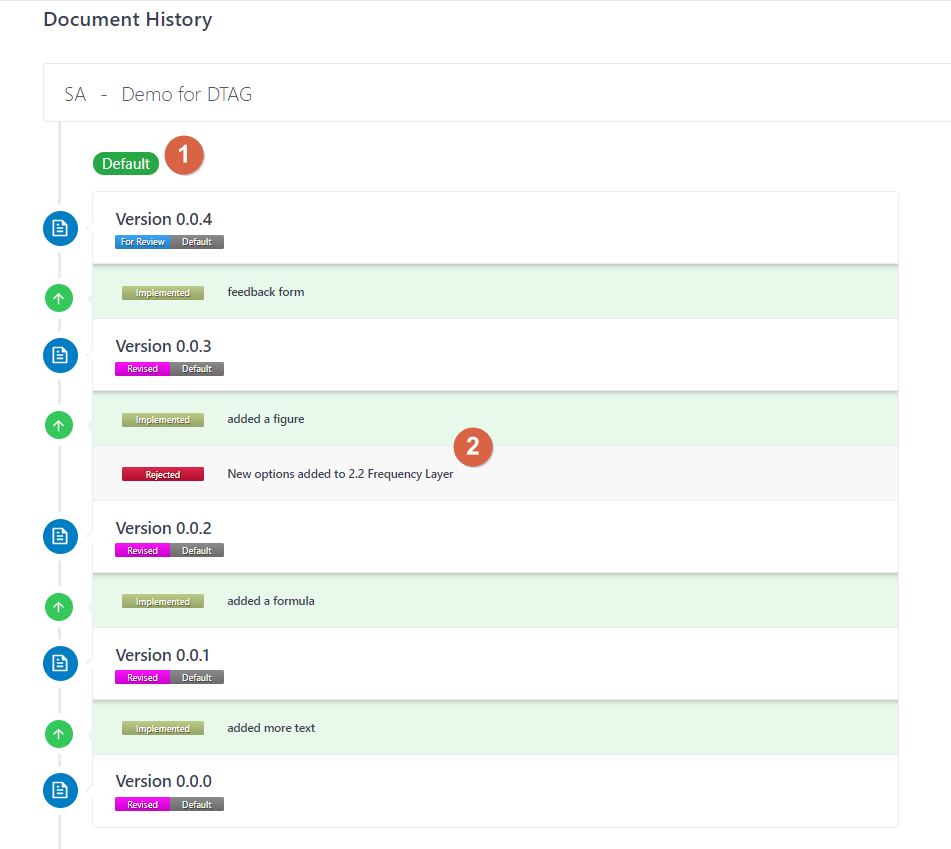
Document History
From the workspace you can reach the Document History by clicking the ellipse and then selecting the Document History, (see ).
You can see the various baseline versions and all their variants.
name of the branch/release, (see
)listing of all variants (rejected, accepted, For Review, Implemented etc.), (see
 )
)the baselines as well as the variants can be clicked and will open
when a variant is opened the Show Changes/Diff feature can be used
Note
For documents of type ‘Discussion Summary Document’ no variants are shown - only baseline versions are shown.
Search for a document
You can search for a document in your workspace or use the dedicated search page to search for documents in the full repository.
Tip
The underscore (_) matches a single number/character.
The percent sign (%) matches one or more numbers/characters.
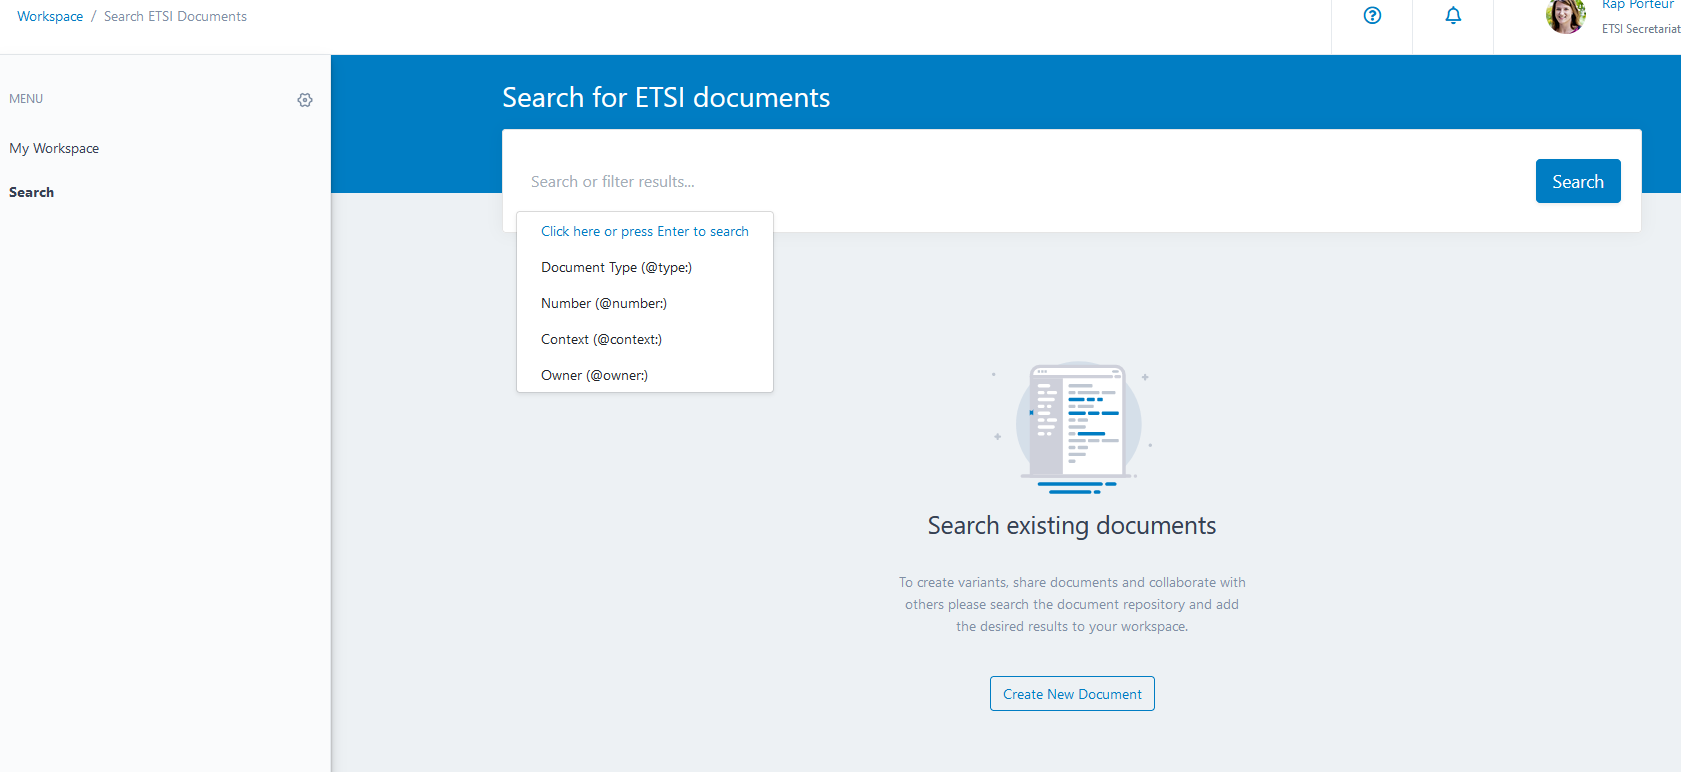
Filter search results
The search bar provides an advanced search syntax to allow you to filter the search results.
Follow these steps to filter the search results:
Click in the search bar
In the dropdown menu that appears, select the attributes you wish to filter by:
Document type
Document number
Context
Owner
Tag
You can set the following values:
for Document type, select the type
for Document number, type the number
for Context, select the context
for Owner, type the owner name
for Tag, type the tag name
Also, in the search bar you can type free text to search for a document title
You can search by multiple attributes. Multiple attributes are joined by a logical AND.
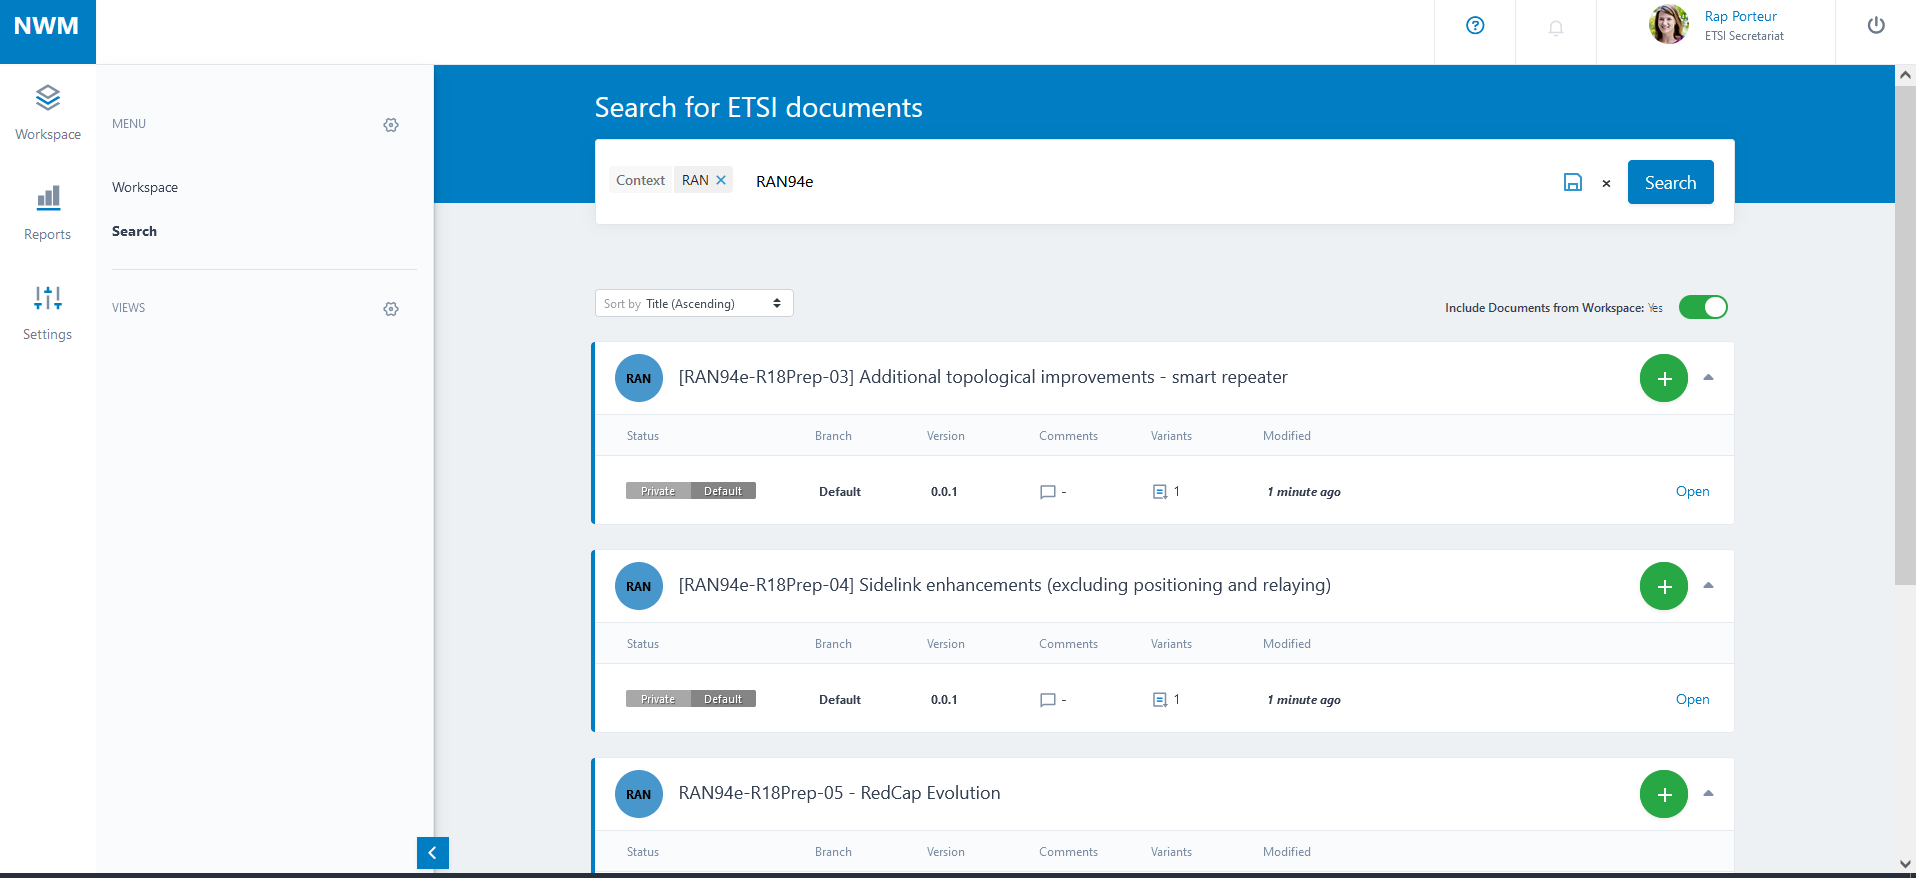
Save search results
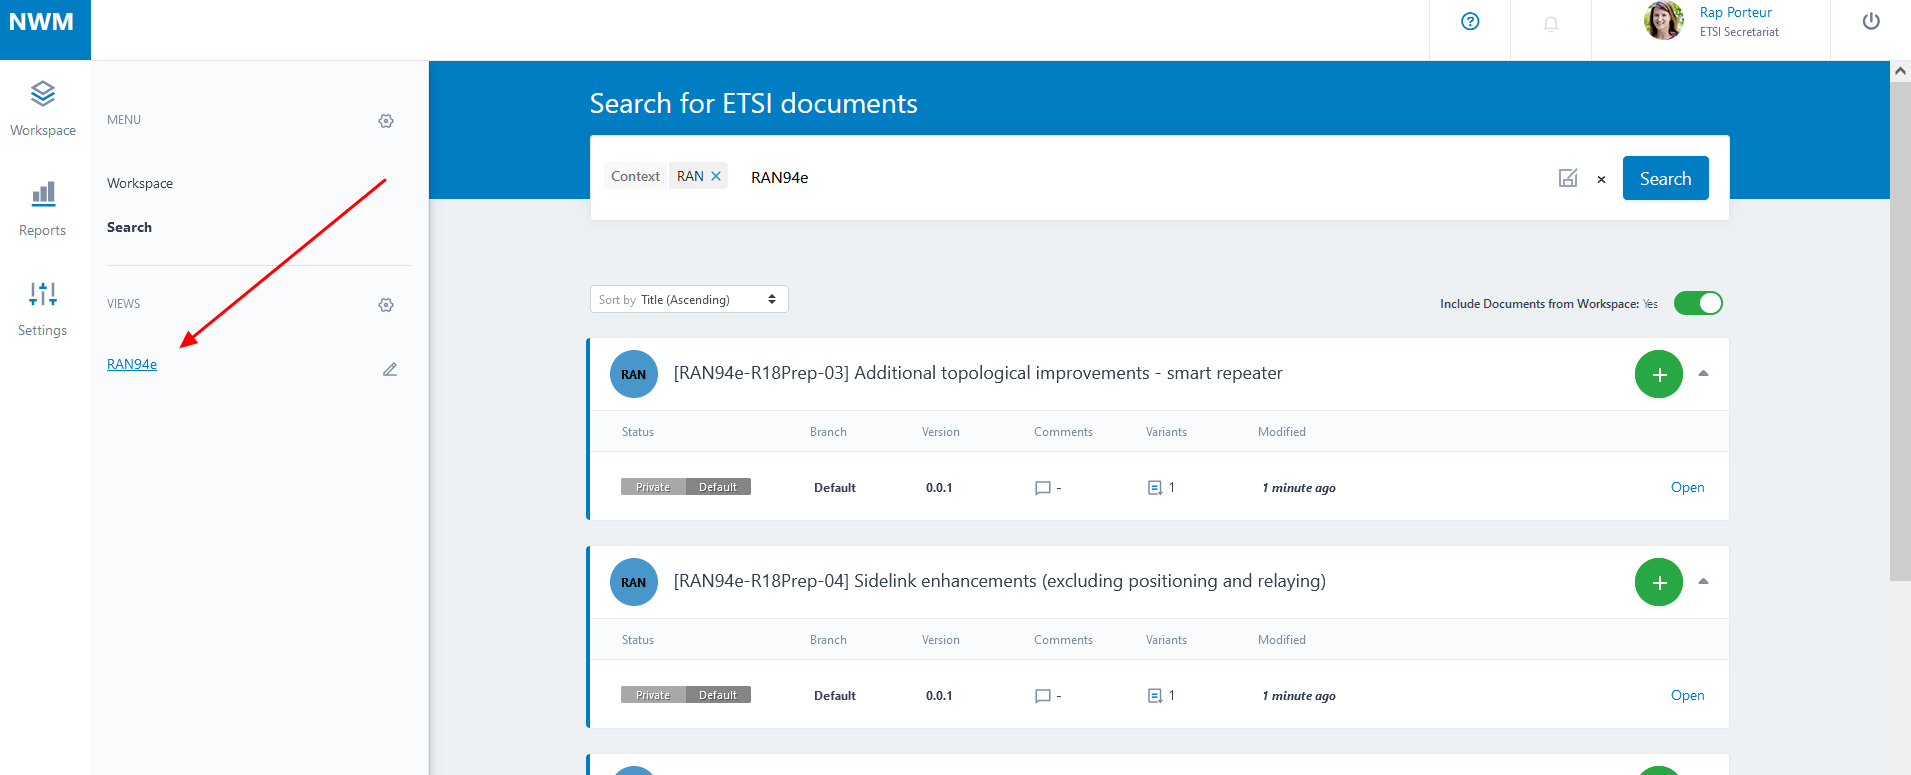
Filtering search results allows you to create a list of documents relevant to a specific meeting. You may save the search result as a so-called ‘View’ for future use. Views that you create are listed in the left pane.
Follow these steps to create a View:
Define your search. For example, the search criteria could be Context: ‘RAN’ and Title: ‘RAN94e’.
Save the search result by clicking on the save icon in the right corner of the search bar.
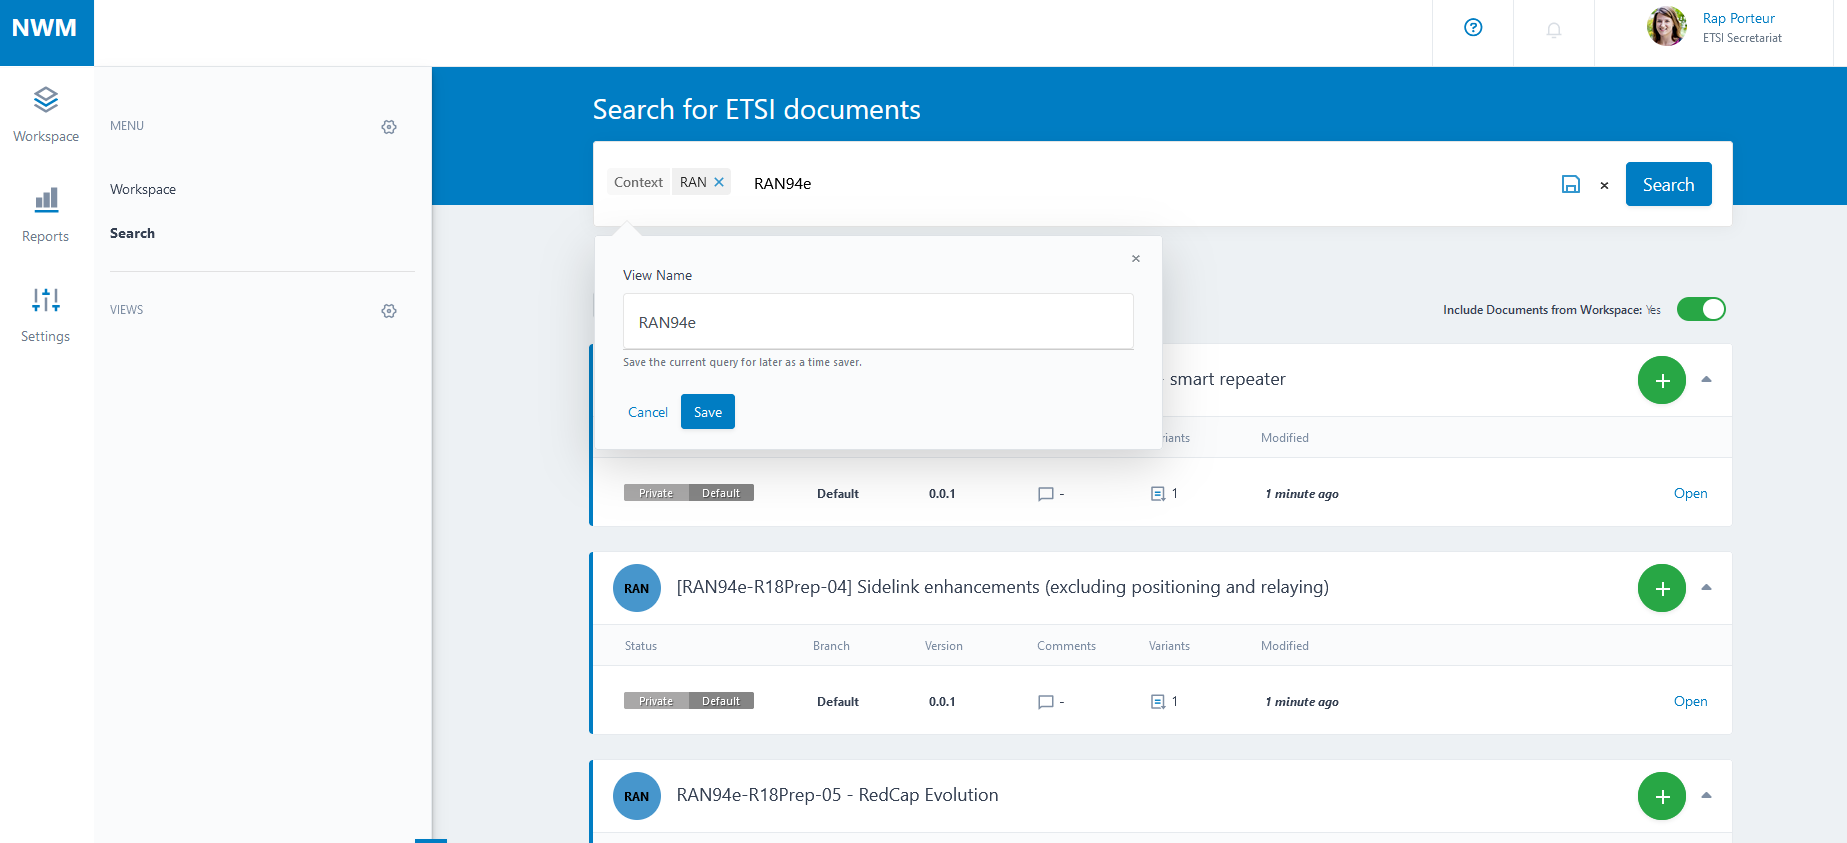
The saved search result is displayed in the View section in the left pane.
Notifications
When you have added a document to your workspace, then you will receive notifications in the application for that document.
Tip
To activate notifications for a document, add it to your workspace.
Tip
To deactivate notifications for a document, remove it from your workspace (Remove a document from the Workspace).
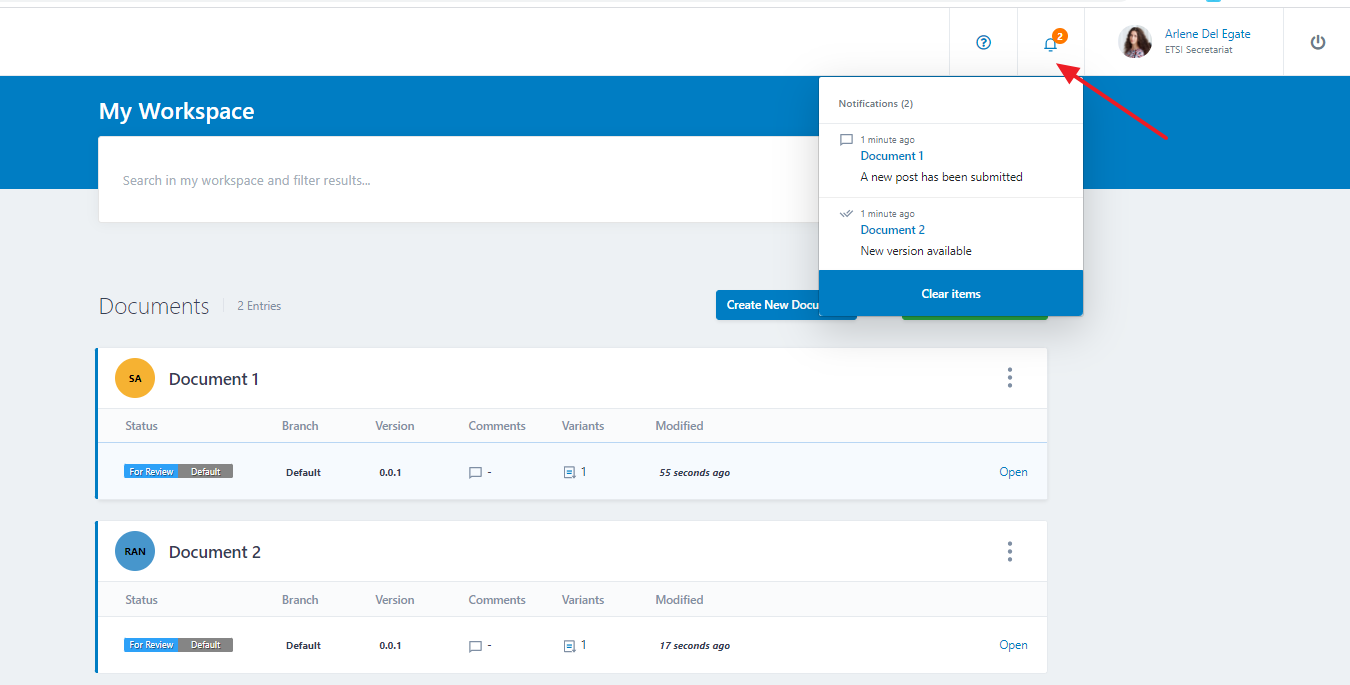
A new notification will be generated, when:
new posts have been submitted in a Feedback Form in that document or
a new version of that document is available
Click on the bell icon to see the list of new notifications. When you click on one of the notifications in the list, the related document opens (if not already open) and the notification item disappears. If the document is already open, it should be manually refreshed. Notifications can also be manually cleared, all at once.
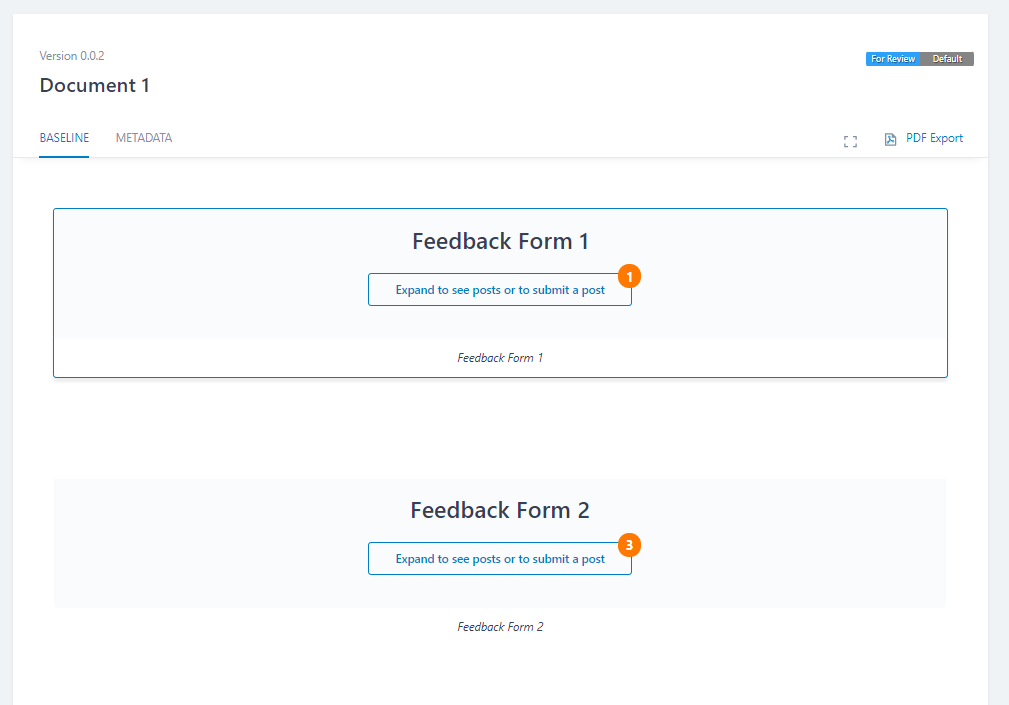
Inside the document, the number of new posts is displayed on each Feedback Form header when the Feedback Form is collapsed. This number indicates the number of new posts since the Feedback Form was last expanded.
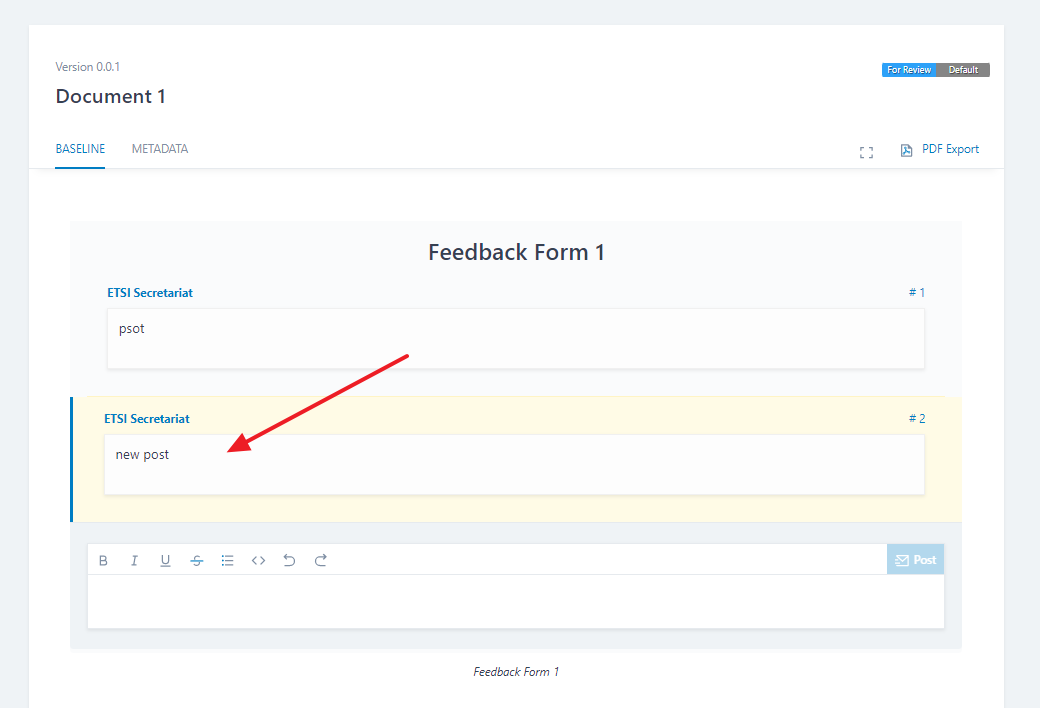
New posts in a Feedback Form are highlighted in yellow when the form is expanded.
With a feedback form opened, when a new comment is submitted, this comment is automatically appended and displayed in yellow.
The highlighting and the notification counter are removed when the Feedback Form is collapsed.
Organize your documents with tags
Documents in your workspace can be tagged. This allows you to group documents together and to filter for your search results.
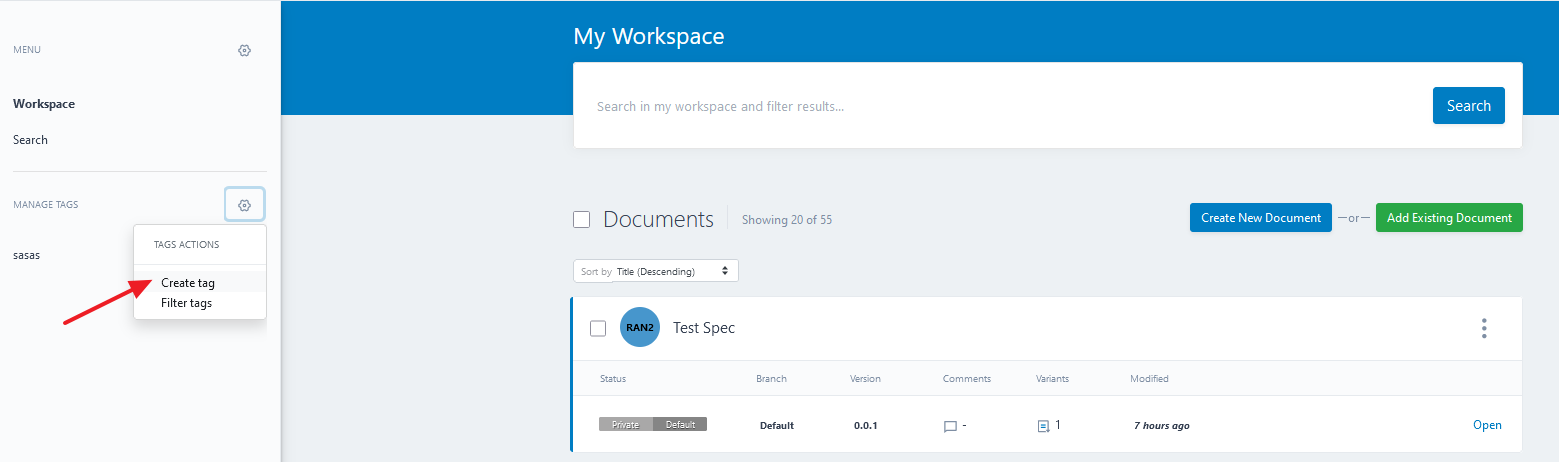
The tagging feature is available in the left pane of your workspace.
Tags that you create are linked to your workspace, and thus are private (nobody else can see or use them).
Tags are displayed in the Workspace, in search results and in open documents as a small label with a circular icon, shown just under the document title.
Create a tag
To create a tag, click on the gear symbol beside the Manage tags label and you see Create tag.
Click on Create tag, enter a tag name and choose a colour.
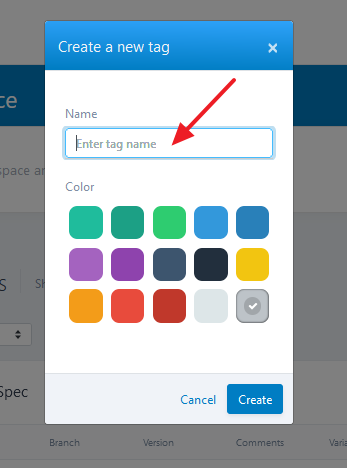
Click on Create and the newly created tag will be listed in the left pane.
Tag a single document
At least one tag must exist in the left pane before you can tag a document.
To assign a tag, click on the ellipse and you see Assign tag(s) to this document.
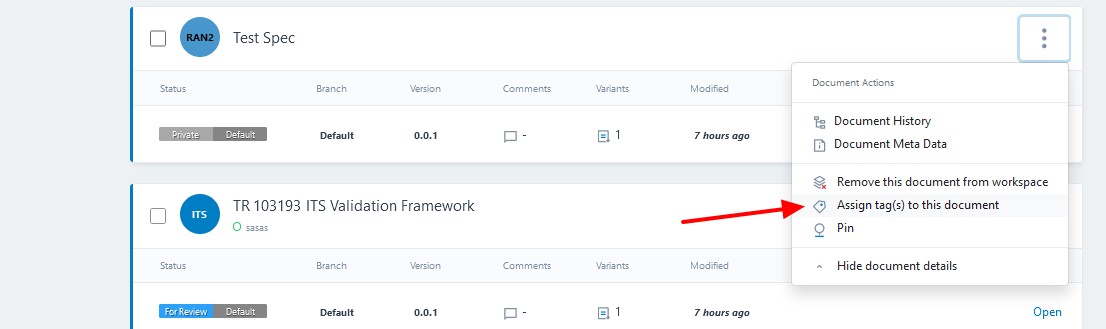
Click on Assign tag(s) to this document and you can search and select an existing tag.
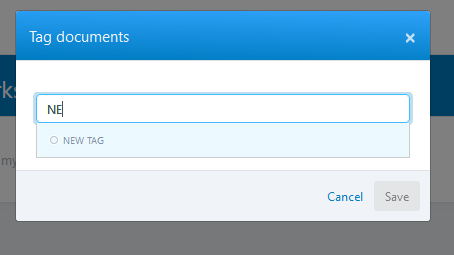
Click on Save and the tag is assigned to your document.
Tag a set of documents
At least one tag must exist in the left pane, before you can tag a document.
To assign a tag to a set of documents, select the relevant documents (or select all documents) and click on Bulk Action (this appears once any document is selected).
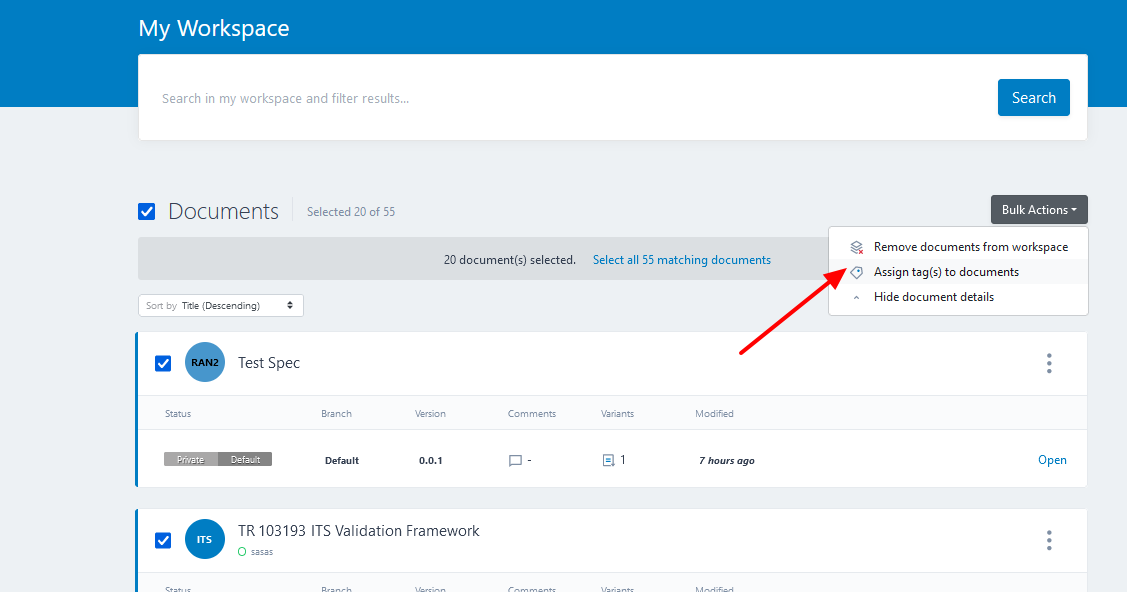
Click on Assign tag(s) to this document and you can search and select an existing tag.
Click on Save and the tag is assigned to all your selected documents.
Find a tagged document
You can use a tag as a filter criteria when searching for an important document in your workspace.
To find a tagged document:
Click in the Search bar
In the dropdown menu that appears, select Tag
Type the label name
Click Search
Note
In a future release we will add the feature to click on a tag in the left pane and to get the filtered result directly.
Remove a tag from your document
To remove a tag from a document, click on the ellipse and you see Assign tag(s) to this document.
Click on Assign tag(s) to this document and you can see in the pop-up all the tags that are assigned to this document.
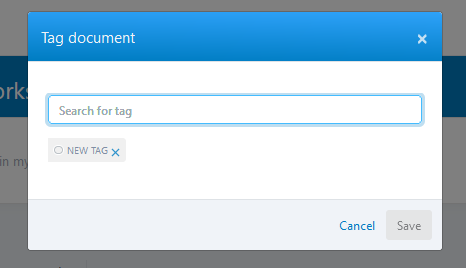
You can remove the tag by clicking on the x delete button.
Tip
When you remove a document from your workspace, then its tags are removed, too.
Tip
You can remove a tag from a set of documents via the Bulk Action button.
Modify a tag
To modify a tag name or colour, mouse over a tag in the left pane and click on the pencil/edit icon.
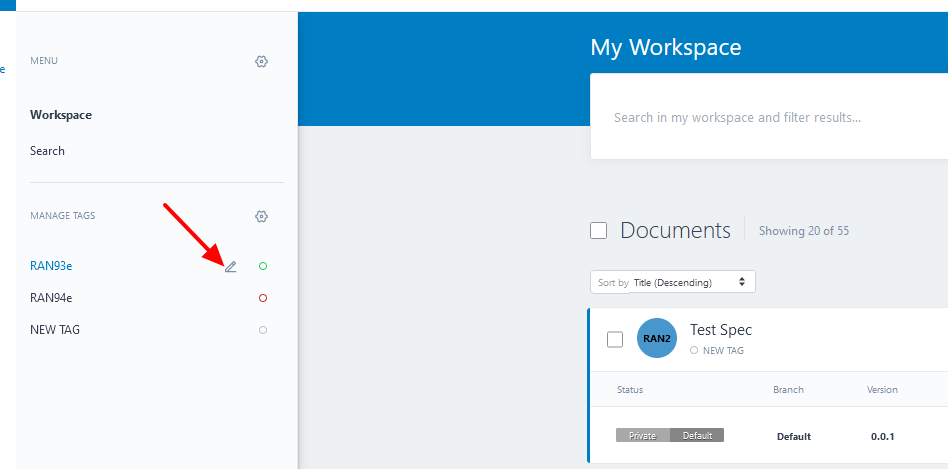
You can now change the name, pick another colour or delete the tag.
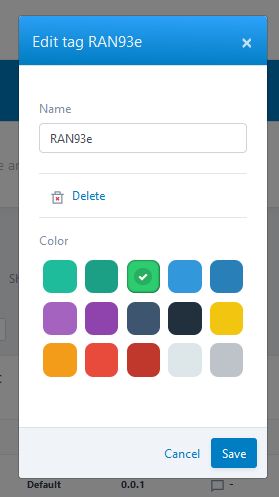
Delete a tag
See Modify a tag .
A tag can be deleted even if it is still associated with some documents in your Workspace.
Filter a tag
If you have created many tags, you can use the filter function to find them faster.
To filter a tag, click on the gear symbol beside Manage tags and you see Filter tag.
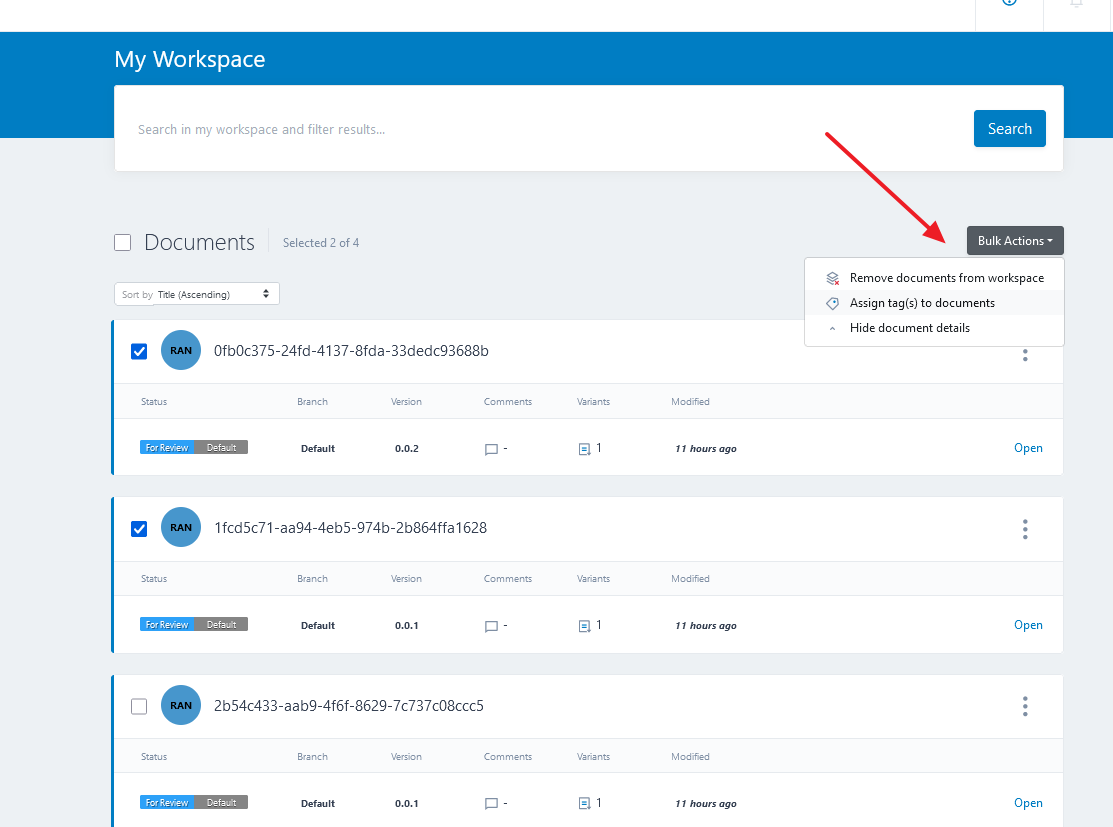
Bulk Actions
When you select one or more documents the Bulk action button appears at the top right.
When you click Bulk action, you will get the following options:
Remove documents from workspace (see Remove a document from your workspace)
Assign tags to documents (see Tag a set of documents)
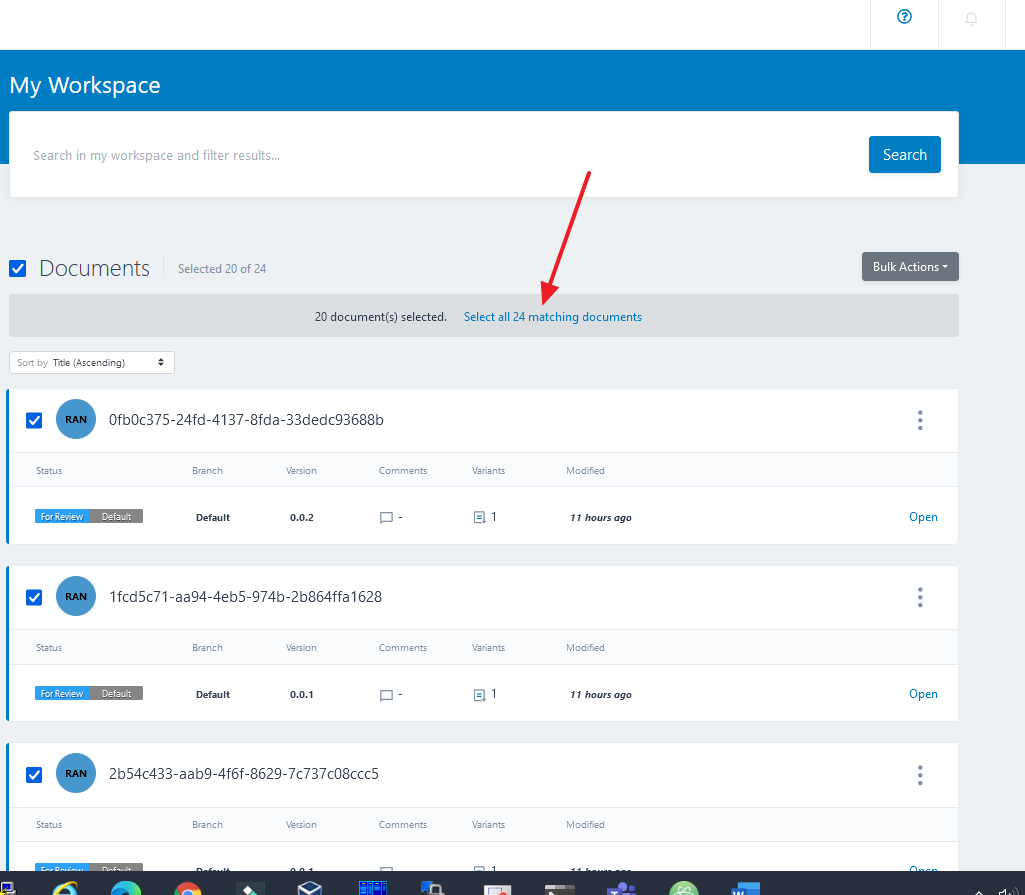
Hide document details
The workspace shows initially 20 documents, with more pages of documents shown by scrolling down and clicking on Load More…. If you have more than 20 documents in your workspace and you click on the ‘Select all’ checkbox, then you get the option to select all documents of your workspace.